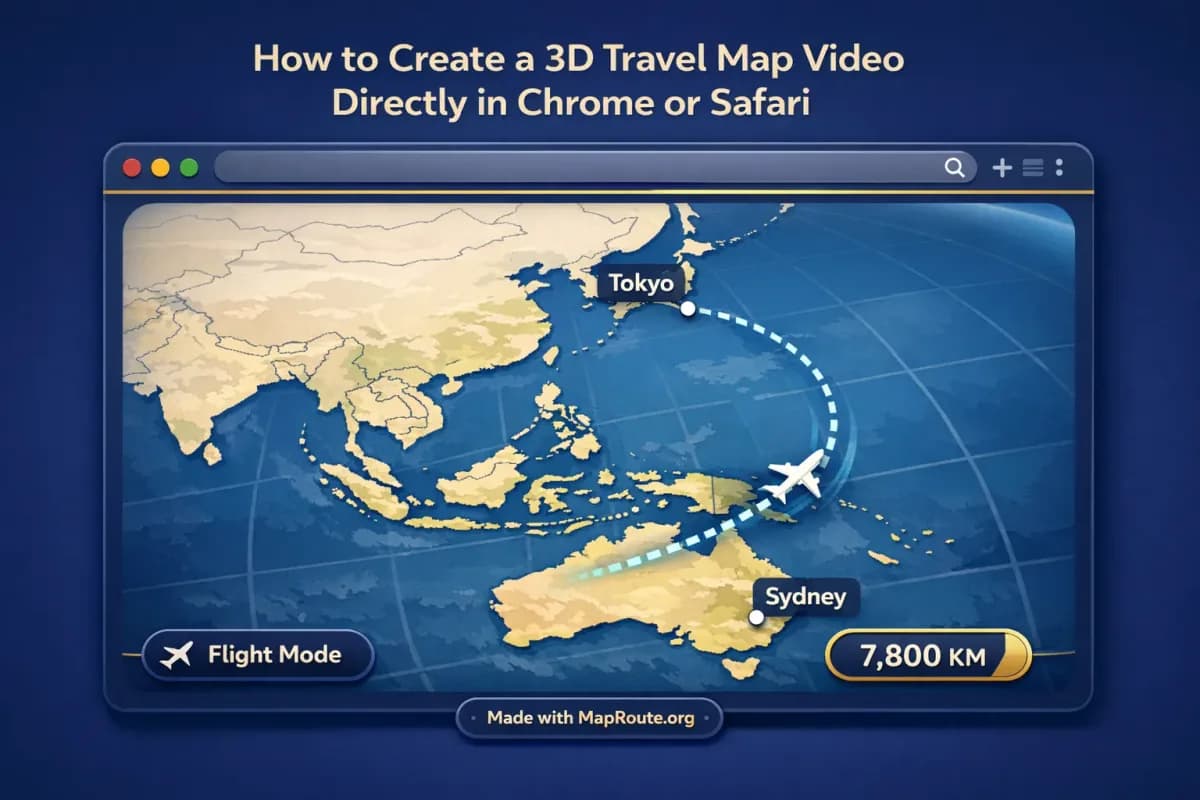
How to Create a 3D Travel Map Video Directly in Chrome or Safari
You can create a smooth, 3D-style travel map video directly in Chrome or Safari without installing any app or desktop plugin. Map Route runs entirely in your browser and turns a simple From–To pair into an animated journey clip you can drop into Reels, Shorts, or your next vlog.
This guide walks you through building a route like Tokyo to Sydney or Delhi to London, capturing it as a video, and then using that clip in your editor of choice. We’ll also be honest about what Map Route does not do: it’s not a full 3D globe renderer or motion-graphics suite, and each animation covers exactly two points at a time. If you want multi-leg, fully edited travel sequences, you’ll combine Map Route clips with your own tools.
Step-by-step: Build a 3D-style travel map video in your browser
1. Open Map Route in Chrome or Safari
Go to maproute.org in a modern browser such as Chrome or Safari. Map Route is entirely browser-based, so there’s no app to install and no plugin to configure. The same tool works on desktop and on your phone, although downloads require a verified account.
Reading the Map Route blog and this guide does not use up any of your daily generation quota.
2. Choose your From and To locations
On the Map Route homepage you’ll see two search fields: From and To. Type at least two characters of a city, region, or country name. Map Route uses Photon with a Nominatim fallback, so results depend on what those public geocoders return.
For example routes mentioned in this article:
- From: Tokyo, To: Sydney
- From: Delhi, To: London
Each suggestion in the dropdown shows a label, some context, and a small badge that hints at the kind of place (city, region, country, etc.). Pick the entry that best matches the location you have in mind.
3. Pick the right visualization mode
Map Route offers four visualization modes. These determine how the line is drawn between your two points and how the moving marker behaves:
- Road: follows a typical road path from a routing engine. Great for road trips, but not a bus schedule or driving-time calculator.
- Rail: follows railway alignment when Map Route can find it. Ideal for rail journeys, but not proof a passenger train actually runs that route.
- Air corridor: draws an estimated great-circle line between your endpoints. Perfect for flights like Tokyo → Sydney or Delhi → London.
- Geodesic: a straight-line distance on the globe. Useful when you want a simple line and don’t need it to follow roads or rail.
There is no cruise-ship, ferry, or bus-service mode. If road or rail geometry can’t be computed, Map Route will offer a geodesic line instead.
For long-haul flights such as Tokyo to Sydney or Delhi to London, choose Air corridor to get a realistic, great-circle style arc.
4. Generate and preview your journey
Click Generate Journey. Behind the scenes, Map Route goes through a short pipeline:
- Resolving places
- Requesting geometry
- Framing the map
- Preparing journey
Once it’s ready, the player shows a basemap with your route, a moving marker or vehicle icon, and a km tracker. You can play, pause, replay, and change speed between 1x, 2x, and 4x. Duration at 1x is automatically calculated from distance and usually lands between about 8–28 seconds.
The animation uses a MapLibre map with a light, political-style OpenFreeMap / OpenStreetMap basemap. It’s not a fully rendered 3D globe or custom camera rig like you’d build in After Effects.
5. Adjust your browser window for vertical or horizontal video
Map Route does not have an aspect-ratio picker. Instead, it follows your browser window width:
- Under 768px wide (phone in portrait or a narrow desktop window): 9:16, ideal for TikTok, Instagram Reels, YouTube Shorts, and Stories.
- 768px and wider (typical desktop or tablet in landscape): 16:9, ideal for YouTube vlogs or widescreen intros.
If you want a vertical 3D-style travel map clip for Reels, generate and capture it on your phone in portrait, or narrow your desktop browser window before you generate. For a horizontal YouTube intro, keep the window wide.
6. Register and verify to download your video
You can generate journeys while logged out (up to 3 times), but you can’t download images or videos until you create and verify an account. Registration is free, and there’s no self-serve checkout. Paid plans exist only as a manual upgrade if you contact the team from your account page.
With a verified free account you get 5 combined uses per UTC day. Each of these counts as one use:
- Generate Journey
- Download Video
- Export Image
Once verified, return to your journey and click Download Video. Map Route captures what you see in the player as a browser-based recording, including the km tracker and the moving marker.
Downloads always include a “Made with MapRoute.org” watermark. There is no watermark-free export in the current product.
7. Edit the clip in your usual video editor
Map Route is not a full video editor. There’s no built-in music, audio sync, text overlays, or B-roll. The recommended creator workflow is:
- Generate and download your travel map clip from Map Route.
- Import the MP4 or WebM file into your editor (CapCut, Premiere Pro, Final Cut, DaVinci Resolve, VN, etc.).
- Add voiceover, background music, titles, and your travel footage around the map animation.
- Export the final video from your editor for the platform you’re targeting.
This way you get the speed and simplicity of a browser-based map animation, combined with the creative control of your usual editing stack.
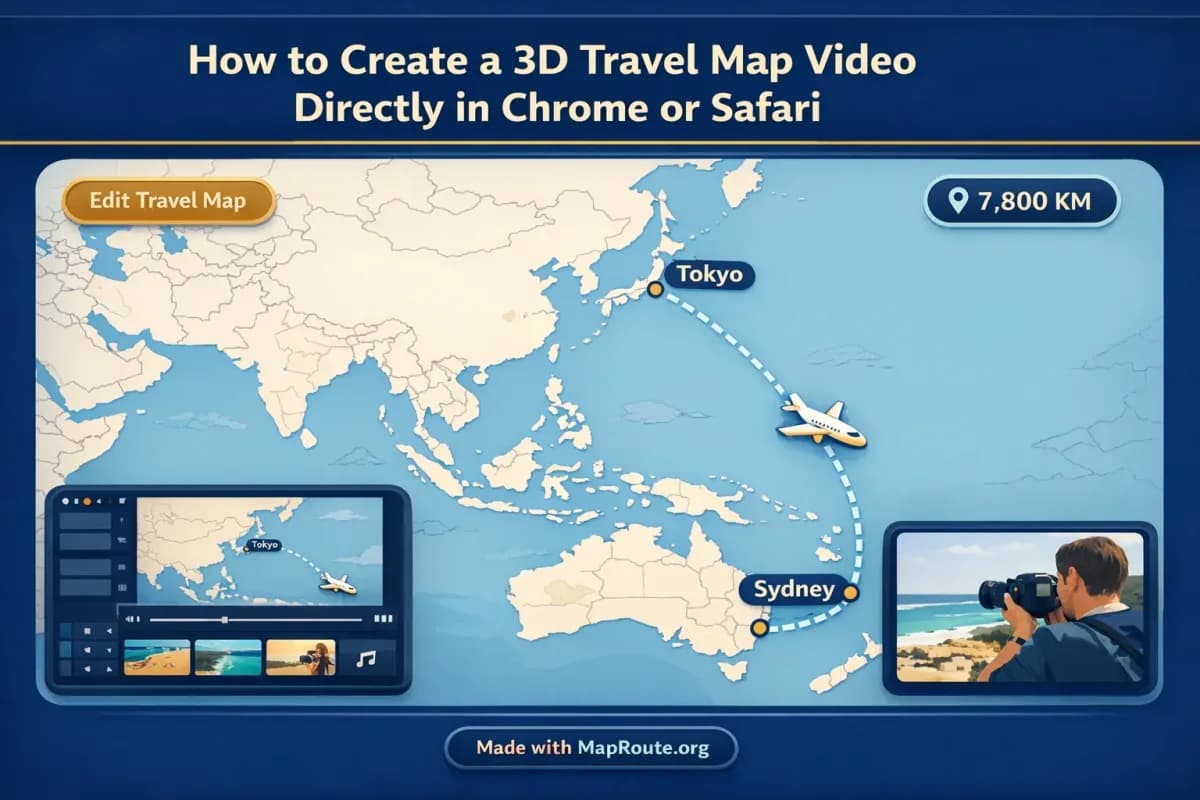
What makes Map Route feel like a 3D travel map?
Map Route doesn’t output a full 3D globe render, but several design choices give the animation a 3D-like feel that works well in travel videos.
Automatic camera framing and subtle pitch
You don’t need to keyframe a camera or think about focal length. Map Route automatically frames the map based on distance:
- Short hops are framed tightly so the viewer can see detail.
- Longer hauls like Delhi → London or Tokyo → Sydney are framed more widely so the entire path is visible.
- The path is date-line-safe, so long routes that cross the international date line still look continuous.
For many distances, Map Route applies a slight map pitch (around 22° under ~1800 km and around 8° under ~5000 km). Very short or very long routes are flat (0°). You can’t customize this, but that subtle tilt is what gives many journeys a 3D-style perspective without you doing anything.
A moving marker and distance tracker
The moving marker or vehicle icon travels along the line that Map Route computes, while a km tracker counts up the distance:
- Road mode: shows road path km.
- Rail mode: shows railway geometry km.
- Air corridor: shows an air corridor estimate km.
- Geodesic: shows geodesic km.
These values are the length of the line Map Route actually computed, not driving time, ticket distance, or an airline’s official mileage. They’re perfect for a visual sense of scale in your video, not for official planning.
Simple controls, creator-friendly timing
Because duration is tied to distance (roughly 6 + distanceKm/400 seconds, clamped into a typical 8–28 second window), you get a clip that naturally fits into short-form content or as a segment in a longer vlog. Playback speed options (1x, 2x, 4x) let you adjust pacing before you capture the video.
There’s no built-in beat sync or audio upload. Sync your map animation to music later in your editing software.
Example 3D-style routes: Tokyo–Sydney and Delhi–London
To make this concrete, here’s how you might use Map Route for the example routes in this article.
Tokyo to Sydney by air corridor
Imagine you’re making a travel vlog about flying from Japan to Australia. You want a quick, 3D-style map shot that shows the viewer where you’re going.
- Open maproute.org in Chrome on your laptop.
- Set From: Tokyo (select the city result), To: Sydney (city).
- Choose Air corridor as the visualization mode.
- Keep your browser window wide for a 16:9 clip that fits YouTube.
- Click Generate Journey, then preview at 1x and 2x speed.
- Once you’re happy, download the video (after verifying your account).
Drop that clip at the start of your vlog to orient viewers. You can overlay text like “Tokyo → Sydney” and your flight date in your editor.
Delhi to London by air corridor
For a multi-part Europe series starting in India, you might want a vertical map animation for Instagram Reels or TikTok.
- On your phone, open maproute.org in Safari or Chrome.
- Hold the phone in portrait so the window is under 768px wide (this gives you 9:16).
- Set From: Delhi, To: London.
- Choose Air corridor.
- Generate the journey and preview it at 1x speed (short-form platforms often benefit from a slightly slower, more legible map).
- Download the video and import it into your mobile editor to add music, captions, and stickers.
Again, remember that this air corridor is an estimated great-circle line, not a real-time flight tracker or proof of a specific airline route.
Optimizing your map videos for TikTok, Reels, and Shorts
Because Map Route runs in your browser, optimizing for social platforms comes down to two things: aspect ratio and clip length.
Aspect ratio: 9:16 vs 16:9 without presets
There’s no aspect-ratio menu in Map Route. It simply follows your window width:
- For TikTok, Reels, Shorts, and Stories: use a phone in portrait or a narrow desktop window for 9:16.
- For YouTube main feed and landscape Facebook videos: use a wide desktop window for 16:9.
If you accidentally generate in the wrong aspect, resize your window and generate again. Each generate counts toward your daily quota, so plan a bit ahead.
Clip length and pacing for short-form platforms
At 1x, most Map Route journeys land between ~8–28 seconds. For social:
- Use 1x speed if the route is short and you want viewers to absorb the details.
- Use 2x or 4x for very long routes if you’re cutting the clip down or layering it under fast-paced B-roll.
- Trim the downloaded clip in your editor if you only need a section of the journey.
Because Map Route doesn’t handle audio, you’ll add music in your social app or editing software and manually align beats to key map moments (departure, mid-route, arrival).
Using Map Route in longer YouTube travel vlogs
For YouTube travel creators, Map Route works best as a building block inside a bigger edit, not as the only visual. Think of it as a quick way to visualize geography between scenes.
Where to place map clips in your vlog
- Cold open: Start with a 16:9 map of your main route (e.g., Delhi → London) before cutting to airport footage.
- Chapter breaks: Use shorter road or rail animations to show movement between cities within a series.
- Recaps: At the end of a multi-episode trip, stitch several Map Route clips together in your editor to summarize your journey.
Map Route doesn’t support multi-stop routes in a single file. For multi-leg trips, generate each pair separately (e.g., Delhi → Istanbul, Istanbul → London) and combine the clips in your editing software.
Adding voiceover, titles, and B-roll
Since Map Route isn’t a full editor, you’ll handle storytelling elsewhere. A typical YouTube workflow looks like this:
- Generate a 16:9 air-corridor clip of your main flight on desktop.
- Import the clip into your NLE (Premiere, Final Cut, DaVinci, etc.).
- Record a short voiceover explaining why you’re traveling and where you’re heading.
- Layer the voiceover over the map, then cut to airport or city B-roll.
- Add on-screen text for city names and distances if you want extra clarity.
Because Map Route’s animation length is distance-based, you often get a natural amount of time for a concise voiceover line like “Today I’m flying from Tokyo to Sydney, about 7,800 kilometers across the Pacific.”
Map Route vs desktop 3D tools and mobile apps
If you’ve used tools like Adobe After Effects or mobile route-animation apps, it helps to understand where Map Route sits in the landscape. It’s intentionally simple and browser-first.
| Tool type | Setup | Route handling | Camera / 3D feel | Export & watermark | Best for |
|---|---|---|---|---|---|
| Map Route (maproute.org) | Runs in Chrome/Safari, no install or plugins | Two points per journey (From + To); generate multiple clips for multi-leg trips | Automatic framing with subtle pitch; MapLibre map, not full 3D globe | Browser capture as MP4/WebM with a visible “Made with MapRoute.org” watermark | Creators who want quick, map-focused clips without heavy software |
| Desktop motion-graphics software (e.g., After Effects with map plugins) | Install on a powerful computer; steeper learning curve | Highly customizable; can build complex, multi-stop animations by hand | Full control over camera paths, 3D layers, and keyframes | Exports depend on your render settings; typically no forced watermark | Studios or advanced creators needing fully custom motion graphics |
| Mobile route-animation apps | Install from app store; runs on phone/tablet | Often support simple multi-stop routes within the app | Varies; some offer 2D map lines, others simulate 3D-like paths | Export rules vary; some free tiers add watermarks, some don’t | Quick social posts created entirely on mobile |
Use Map Route when you want a clean, geography-focused animation with minimal friction, and you’re comfortable adding polish (titles, music, cuts) in your usual editor. If you need fully custom camera moves or a watermark-free master straight from the route tool, a more complex desktop setup may still be necessary.
Creator checklist for smooth 3D-style map videos
Before you generate your journey
- Decide if you need vertical (9:16) or horizontal (16:9), then size your browser or choose device orientation accordingly.
- List your key city pairs (e.g., Delhi → London, Tokyo → Sydney) so you can generate them efficiently within your daily quota.
- Choose the appropriate visualization mode (Road, Rail, Air corridor, or Geodesic) for each segment.
- Create and verify your Map Route account if you plan to download videos.
- Confirm which editor you’ll use afterward so you know how you’ll add audio and overlays.
While using Map Route
- Type at least two characters and select the correct place from the suggestions list.
- Preview your animation at 1x, 2x, and 4x to find the pacing that fits your project.
- Use Copy link if you want to regenerate the same pair and mode later.
- Download the video once you’re satisfied with framing and speed.
- Remember that every Generate Journey, Download Video, and Export Image counts toward your daily free allowance.
After download, in your editor
- Import the Map Route clip into your editing timeline.
- Add voiceover or captions to explain the route and distance.
- Layer background music and manually sync key beats to moments in the animation if needed.
- Combine multiple Map Route clips to tell a multi-leg story.
- Export your final video for TikTok, Reels, Shorts, or YouTube with the platform’s recommended settings.
FAQ
Is Map Route a real 3D globe or After Effects replacement?
No. Map Route uses a MapLibre map with a light, political-style basemap and a moving marker, plus some automatic pitch for a 3D-style feel. It does not output a 3D globe render or give you custom camera keyframes like After Effects. It’s designed as a fast, browser-based travel map animation maker rather than a full motion-graphics suite.
Can I use Map Route directly in Chrome or Safari?
Yes. Map Route is browser-based and works in modern browsers including Chrome and Safari in typical use. There’s no app to install and no desktop plugin required. You open maproute.org, search your From and To locations, choose a mode, and generate the journey right in the browser.
Does Map Route support multi-stop or multi-leg routes in one video?
Not in a single generate. Each Map Route journey is exactly two endpoints: one From and one To. There is no built-in multi-stop waypoint editor and no way to combine plane, train, and road in one file. For multi-leg trips, generate each pair separately (for example, Delhi → Istanbul, then Istanbul → London) and stitch the downloaded clips together in your own video editor.
What devices and aspect ratios does Map Route support?
Map Route works on phones and desktop. Place search, generate, play, pause, and replay work on both. Aspect ratio is automatic and follows your window width: under 768px wide (such as a phone in portrait or a narrow desktop window) produces 9:16, which suits TikTok, Reels, Shorts, and Stories. Windows 768px and wider produce 16:9, which fits YouTube and other landscape formats. There is no manual aspect-ratio picker.
How do exports and watermarks work?
Logged-out visitors can generate and preview journeys but cannot download images or videos. After you register and verify your email, you can use Download Video and Export Image. Video exports are browser captures of the animation you see, typically as MP4 (H.264) when supported, otherwise WebM. Image exports are WebP stills of the current player view. All downloads include a visible “Made with MapRoute.org” watermark; there is no watermark-free export option at this time.
Is there a free tier and what are the limits?
Yes, Map Route is free to use. Logged-out visitors can Generate Journey up to 3 times but cannot download. With a verified free account, you get 5 combined uses per UTC day. Each Generate Journey, Download Video, and Export Image counts as one use, and the allowance resets at the start of the next UTC day. There is no self-serve checkout; paid plans exist only as a manual upgrade if you contact the team from your account page.
Does Map Route guarantee coverage for any city or airport?
No. Map Route relies on public geocoders (Photon with Nominatim fallback) for place search, and on OSRM and OpenStreetMap-based data for road and rail geometry. You can usually search cities, regions, and countries worldwide as far as those services return results, but there is no guarantee that every village, landmark, or airport code will resolve or that road or rail geometry can be computed for every pair.
Can I add music, voiceover, or text directly in Map Route?
No. Map Route is focused on generating the travel map animation itself. It doesn’t support audio upload, beat sync, voiceover recording, or text overlays. The recommended workflow is to download the animation from Map Route, then import it into your preferred video editor or social app to add music, narration, captions, and other effects.