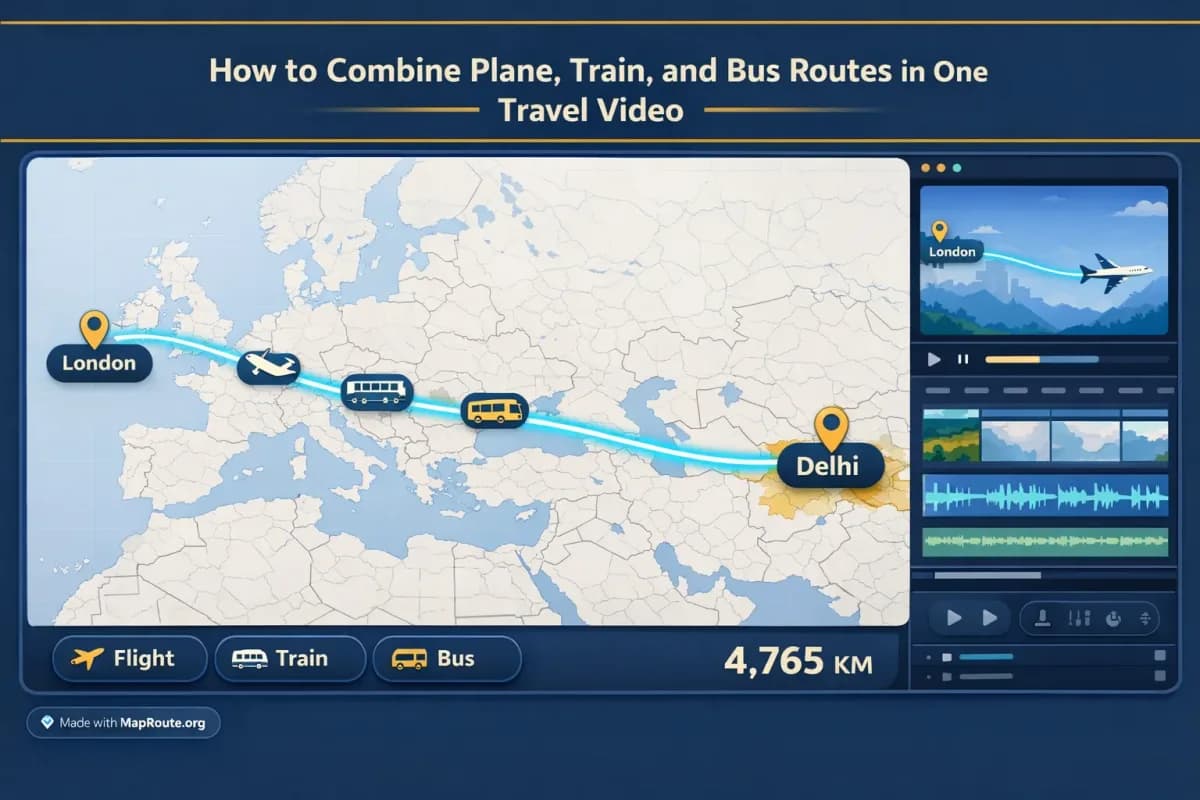
How to Combine Plane, Train, and Bus Routes in One Travel Video
You can absolutely combine plane, train, and bus segments into one smooth travel video—but you won’t get it from a single automatic map tool. The realistic way to do it is to create separate map animations for each leg, then stitch them together in your video editor.
Map Route is a browser-based travel map animation maker that focuses on one journey at a time: a single From and To pair in one of four modes (road, rail, air corridor, geodesic). It doesn’t have a built-in multi-stop editor or a way to mix modes in one file, but it’s very good at generating clean, short clips you can combine into a multi-mode story in Premiere Pro, CapCut, Final Cut, or any editor you prefer.
This guide walks you through a creator-friendly workflow for turning a complex trip—like flying from Delhi to London, taking the train from London to Paris, then traveling by road from New York to Los Angeles—into one cohesive travel video. You’ll see how to plan your segments, generate each route in Map Route, and then combine everything with your own B-roll, music, and voiceover.
Map Route can’t generate a single multi-leg, multi-mode animation. You’ll create one clip per leg (From + To), then combine those clips in your own video editor.
Step-by-step: From multi-leg trip to one polished video
1. Break your journey into clear legs
Start by turning your real-world itinerary into a list of simple, two-point segments. Each of these will become one Map Route animation.
- Delhi → London by air (use Air corridor mode)
- London → Paris by train (use Rail mode)
- New York → Los Angeles by road (use Road mode)
Map Route doesn’t know about flights, train timetables, or bus services. It visualizes geography: an estimated air corridor, a railway alignment if one exists, or a road path. For a bus leg, you’ll still use Road mode; it’s a generic road path, not a bus timetable.
2. Open Map Route in your browser
Go to maproute.org in a modern browser such as Chrome or Safari. There’s no app to install and no desktop plugin—everything runs in the browser.
- On desktop with a wide window (768px+), the player uses a 16:9 aspect ratio—ideal for YouTube and landscape intros.
- On a phone or a narrow window, the player uses 9:16—ideal for TikTok, Instagram Reels, Shorts, and Stories.
There is no aspect ratio picker. The aspect is based on your browser window size at the moment you generate and capture the animation.
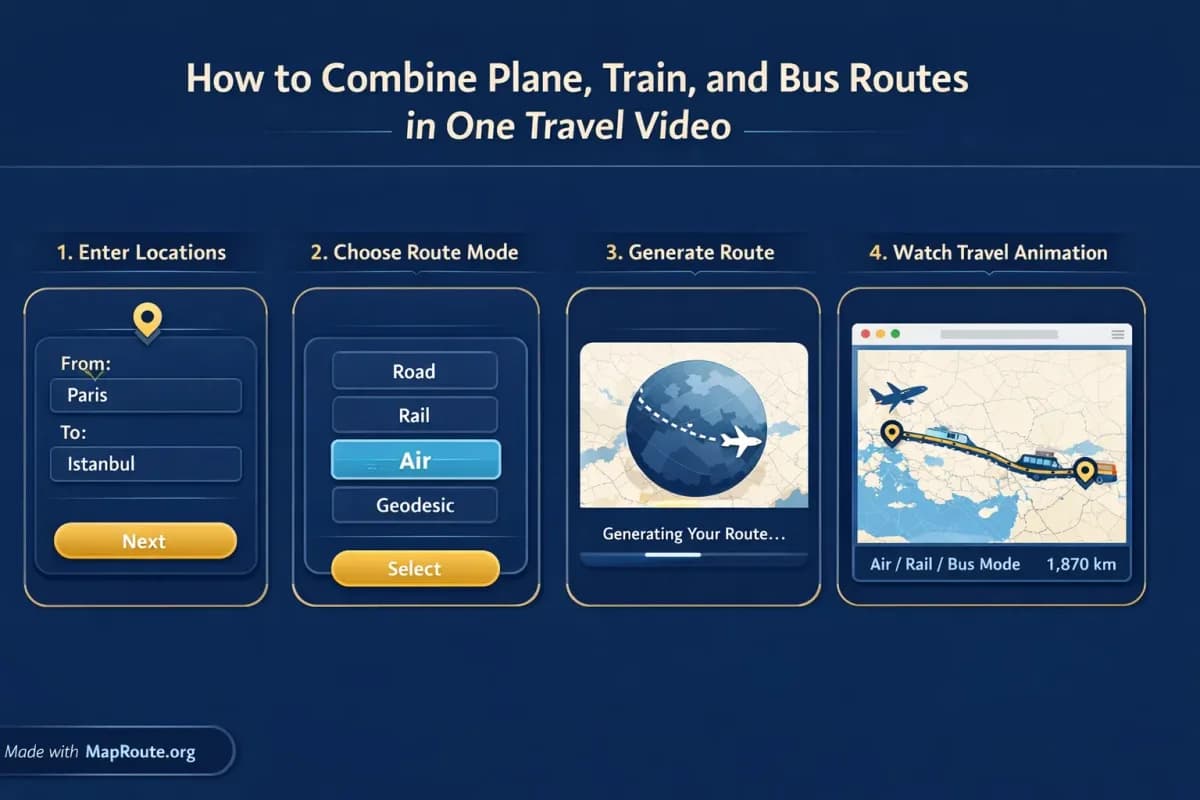
3. Generate each leg as its own journey
- In the From field, start typing your origin (e.g., “Delhi”).
- In the To field, type your destination (e.g., “London”).
- Pick a visualization mode: Road, Rail, Air corridor, or Geodesic.
- Click Generate Journey and wait for the short prep stages (resolving places, requesting geometry, framing the map, preparing journey).
- Play the animation and choose a playback speed (1x, 2x, or 4x) to preview how it feels.
Repeat this for each leg of your trip. For the example in this article, that means three separate generates: Delhi → London (Air corridor), London → Paris (Rail), and New York → Los Angeles (Road).
4. Register to download your clips
You can try generating journeys logged out (up to 3 times), but downloads require a verified account. Registration is free and handled on the site—no self-serve checkout for upgrades.
- After registering and verifying your email, you can use Download Video and Export Image.
- Each Generate Journey, Download Video, and Export Image counts as one use, with 5 combined uses per UTC day on the free tier.
- Temporary or disposable emails aren’t supported, and unverified accounts can’t log in or generate.
Reading this blog and planning your routes does not consume any generation or download quota.
5. Capture and save each animation
When you’re happy with a leg’s animation:
- Set your browser window to the aspect ratio you want (tall for vertical, wide for landscape).
- Replay the animation at your preferred speed (1x/2x/4x).
- Click Download Video to capture the clip in your browser.
- Wait for the capture to finish and save the MP4 (H.264 when supported) or WebM file.
Map Route’s video export is a capture of the player you see, not a separate server-rendered HD pipeline. If capture fails in your browser, the player will still work and show a notice, but you may need to try another browser or device.
All downloads include a “Made with MapRoute.org” watermark. There is no watermark-free export at the moment.
6. Combine segments in your video editor
Once you have a clip for each leg, bring them into your editor of choice—CapCut, Premiere Pro, DaVinci Resolve, Final Cut, VN, etc.—and arrange them on the timeline:
- Import all Map Route clips into your project.
- Place them in order: Delhi → London, then London → Paris, then New York → Los Angeles.
- Trim the start/end if you want tighter pacing.
- Add your voiceover, travel footage, photos, and music on other tracks.
- Export for your target platform (vertical for Reels/TikTok, landscape for YouTube).
Map Route doesn’t handle audio, B-roll, or titles. Beat-sync, voiceover, and overlays all happen in your editing software.
Key Map Route features that help multi-mode storytelling
While Map Route can’t merge multiple legs into one file, its design makes it easy to create clean, consistent segments that cut together well in a multi-mode travel video.
Four visualization modes for different transport vibes
- Road – Shows a typical road path between two places using a routing engine. It’s ideal for car and bus journeys, but it’s not a bus timetable or proof a specific bus runs that route.
- Rail – Shows railway alignment when geometry is available. It’s great for visually indicating train travel, but it’s not an official timetable or proof that a passenger service exists on that line.
- Air corridor – Shows an estimated great-circle line. Perfect for plane segments, but it’s not a live flight tracker or a filed flight plan.
- Geodesic – A straight-line distance on the globe. Use this when road or rail geometry can’t be computed, or when you want a minimalist straight line rather than an actual path.
If road or rail geometry can’t be computed between two places, Map Route offers a geodesic alternative instead.
Automatic camera framing with a moving marker
You don’t need to keyframe a camera like you would in a motion graphics tool. Map Route automatically frames the map based on distance, with a moving marker or vehicle icon traveling along the computed line.
- Short hops are framed tighter; long hauls are zoomed out more.
- Some distances get a slight map pitch for depth (around 22° under ~1800 km, ~8° under ~5000 km, and 0° for very short or very long routes).
- Date-line-safe paths are supported, so long international flights don’t create awkward wraps.
You can’t set custom camera paths, orbit moves, or keyframes in Map Route. If you need complex camera choreography, you’ll handle that in a full motion graphics tool instead.
Distance tracker for context, not timetables
Each animation includes a km tracker that reflects the line Map Route actually computed:
- Road path km for Road mode
- Railway geometry km for Rail mode
- Air corridor estimate km for Air corridor mode
- Geodesic km for Geodesic mode
These numbers are not driving times, ticket distances, or airline mileage—they’re there to give your viewers a sense of scale for each leg of your journey.
Clip length that fits social pacing
At 1x speed, Map Route animations are typically around 8–28 seconds, depending on distance. You can speed them up to 2x or 4x for snappier edits, especially when you’re intercutting them with B-roll or time-lapses.
Practical examples: plane, train, and road in one story
Example 1: Delhi to London by air corridor
To show a long-haul flight from Delhi to London, search for “Delhi” as your From and “London” as your To, then pick Air corridor. Map Route will compute an estimated great-circle line and frame the map across Eurasia. The km tracker will show the approximate air corridor distance, which is usually shorter than any road path between the same cities.
In your edit, you can cut from a shot of boarding in Delhi, to the Map Route air corridor animation, then to a landing shot or city B-roll in London. This makes the viewer feel the jump in distance without needing a complex 3D globe.
Example 2: London to Paris by rail
Next, to represent a train journey from London to Paris, set From to “London” and To to “Paris”, then choose Rail. If railway geometry is available, Map Route will show a railway alignment between the two cities. The km tracker will reflect the length of that railway geometry, not a specific train ticket distance.
In your timeline, place this clip right after the Delhi → London segment. You might overlay a subtle whoosh sound or a title card (“Day 2 – Eurostar to Paris”) in your editor to make the transition clear.
Example 3: New York to Los Angeles by road
For a classic cross-country US road trip, set From to “New York” and To to “Los Angeles”, then pick Road. Map Route uses a routing engine to compute a typical road path across the United States and labels the km tracker accordingly.
This works just as well to represent a long-distance bus journey, even though Map Route doesn’t know about specific bus services. In your edit, you can combine this with dashboard shots, gas station stops, and roadside scenery to sell the feeling of a long overland leg.
Linking the segments into one narrative
Once you’ve placed all three clips on your timeline, think about how you want the viewer to experience the trip as one continuous story:
- Use consistent fonts and title styles across all segments.
- Keep map clips relatively short—often 3–8 seconds each is enough when intercut with footage.
- Narrate the transitions: “From Delhi we flew overnight to London, then hopped on a train to Paris, before crossing the US by road.”
- If you’re editing vertical, make sure your original Map Route captures were done in a tall browser window so you don’t have to crop aggressively.
Using Map Route clips inside longer travel vlogs
For longer-form vlogs, Map Route works best as a recurring visual motif: a quick map animation whenever you change country, continent, or transport mode.
Structuring a multi-leg vlog with maps as anchors
- Open with a landscape Map Route clip that shows the biggest leap (e.g., Delhi → London by air corridor) as your cold open or title background.
- Drop in shorter map clips whenever you switch modes (e.g., London → Paris rail) to reset the viewer’s mental map.
- Use the road path (e.g., New York → Los Angeles) as a chapter break: cut to the map, then dive into a sequence of road-trip moments.
Voiceover and music: where they actually happen
Map Route doesn’t handle audio uploads, beat-syncing, or voiceover. All of that happens in your video editor:
- Record your narration explaining each leg: why you chose plane vs train vs bus, what it felt like, and what surprised you.
- Lay down a music track and cut your Map Route clips so key moments (like crossing a border or reaching a coast) hit on musical beats.
- Duck music slightly under your voiceover during map segments so viewers can focus on the explanation.
Re-using clips across platforms
Because Map Route clips are short and self-contained, you can reuse them across multiple edits:
- Full vlog on YouTube with landscape clips.
- Condensed “3 countries, 3 transport modes” montage on Reels using vertical captures.
- Behind-the-scenes breakdown on Stories showing the same Delhi → London, London → Paris, and New York → Los Angeles animations with commentary.
Map Route vs. motion graphics tools for multi-mode maps
If you’ve used tools like Adobe After Effects or mobile apps like TravelBoast, it helps to understand where Map Route fits in your workflow. It’s designed to be a fast, browser-based way to visualize geography between two places—not a full motion graphics suite or a social app feed.
| Tool | Typical setup | Route editing | Multi-leg support | Export & watermark |
|---|---|---|---|---|
| Map Route | Browser-based, no install | Pick From/To and one of four modes (road, rail, air corridor, geodesic) | One leg per generate; combine multiple clips in your own editor | Browser-captured MP4/WebM with "Made with MapRoute.org" watermark; WebP stills |
| Adobe After Effects (with map plugins/templates) | Desktop software, typically paid | Manual keyframes or plugin controls; high flexibility | Can build complex multi-stop, multi-mode sequences in one comp | Full control via render queue; watermark depends on your assets, not the software |
| Travel route mobile apps (e.g., TravelBoast-style) | Mobile app, social-focused | Tap-to-add waypoints; stylized routes and vehicles | Often supports multiple stops in one animation | Exports and watermark behavior vary by app and plan |
If you need a single, highly customized multi-stop animation with custom camera moves, a full motion graphics tool is still the way to go. If you want fast, map-based clips you can drop into your edits, Map Route keeps things simple.
Pre-flight checklist for your multi-mode travel video
Before you open Map Route
- List every leg of your journey as simple From → To pairs (e.g., Delhi → London, London → Paris, New York → Los Angeles).
- Decide which mode best represents each leg: Air corridor for flights, Rail for trains, Road for car/bus, Geodesic as a fallback.
- Choose your primary aspect ratio: vertical (9:16) or landscape (16:9).
- Plan whether you’ll need both vertical and landscape versions, so you can budget your free-tier daily uses.
While using Map Route
- Open maproute.org in a modern browser (Chrome, Safari, etc.).
- Generate each leg separately; don’t look for a multi-stop mode—it’s not there.
- Preview each animation at 1x, 2x, and 4x to see what feels right for your edit.
- Register and verify your email if you need to download videos or stills.
- Capture each leg in the aspect ratio you decided (adjust window width if needed).
In your video editor
- Import all Map Route clips and arrange them in journey order.
- Trim each segment to keep pacing tight, especially for social platforms.
- Add titles or labels for each mode: plane, train, bus/road.
- Layer in music, voiceover, and B-roll to bring the route to life.
- Export platform-specific versions (YouTube, TikTok, Reels, Shorts) from the same project.
Map Route handles the geography and animation between two places; your editor handles everything else—story, sound, pacing, and how multiple legs come together.
FAQ
Can I combine plane, train, and bus routes in a single Map Route file?
No. Map Route generates one journey per file, always between exactly two endpoints (From + To) in a single visualization mode. To show a multi-leg, multi-mode trip, you generate each leg separately—such as Delhi → London in Air corridor mode, London → Paris in Rail mode, and New York → Los Angeles in Road mode—then combine those clips in your own video editor.
Does Map Route support bus routes specifically?
There is no dedicated bus mode. To represent bus travel, you use the Road visualization mode, which shows a typical road path from a routing engine. It’s not a bus timetable or proof that a bus service operates between those places; it simply visualizes the road connection.
What devices and browsers can I use with Map Route?
Map Route runs in the browser—there’s no app to install. It works in modern browsers, including Chrome and Safari, on both desktop and mobile. Place search, generating journeys, and playback work on phones and desktops. Image and video downloads require a registered, verified account, and some browsers may not support video capture perfectly; if capture fails, the player will still work and show a notice.
Is Map Route free to use?
Yes. Map Route is free to use and there is no self-serve checkout. Logged-out visitors can generate up to 3 journeys but cannot download images or videos. With a verified free account, you get 5 combined uses per UTC day, where Generate Journey, Download Video, and Export Image each count as one use. Paid plans exist only as a manual upgrade through the account page.
What kind of exports does Map Route provide?
After registering and verifying your email, you can download a video capture of the animation you see in the browser and export a still image. Video is captured in the browser as MP4 (H.264) when supported or WebM otherwise; it is not a guaranteed server-rendered HD export. The still image is a WebP snapshot of the current player view. All downloads include a “Made with MapRoute.org” watermark, and there is currently no watermark-free export option.
Can I choose the aspect ratio for my travel videos?
There is no explicit aspect ratio picker. Map Route’s player and exports follow the width of your browser window: under 768px wide (like a phone or narrow desktop window) gives you a 9:16 vertical aspect, while 768px and above gives you a 16:9 landscape aspect. If you need both, you can generate and capture the same route twice with different window sizes.
Does Map Route let me add music, voiceover, or titles?
No. Map Route focuses on map animations only. It doesn’t support audio uploads, beat-sync, voiceover recording, titles, or B-roll. The recommended workflow is to download your Map Route clips and then add music, narration, text, and other visuals in your preferred video editor such as CapCut, Premiere Pro, Final Cut, or similar tools.
How accurate are the distances and routes in Map Route?
Map Route’s km tracker shows the length of the line it computed: road path km in Road mode, railway geometry km in Rail mode, air corridor estimate km in Air corridor mode, and geodesic km in Geodesic mode. These figures are for visual and storytelling context only; they are not driving times, official ticket distances, or airline mileage. Geodesic and air-corridor distances are usually shorter than equivalent road paths between the same places.