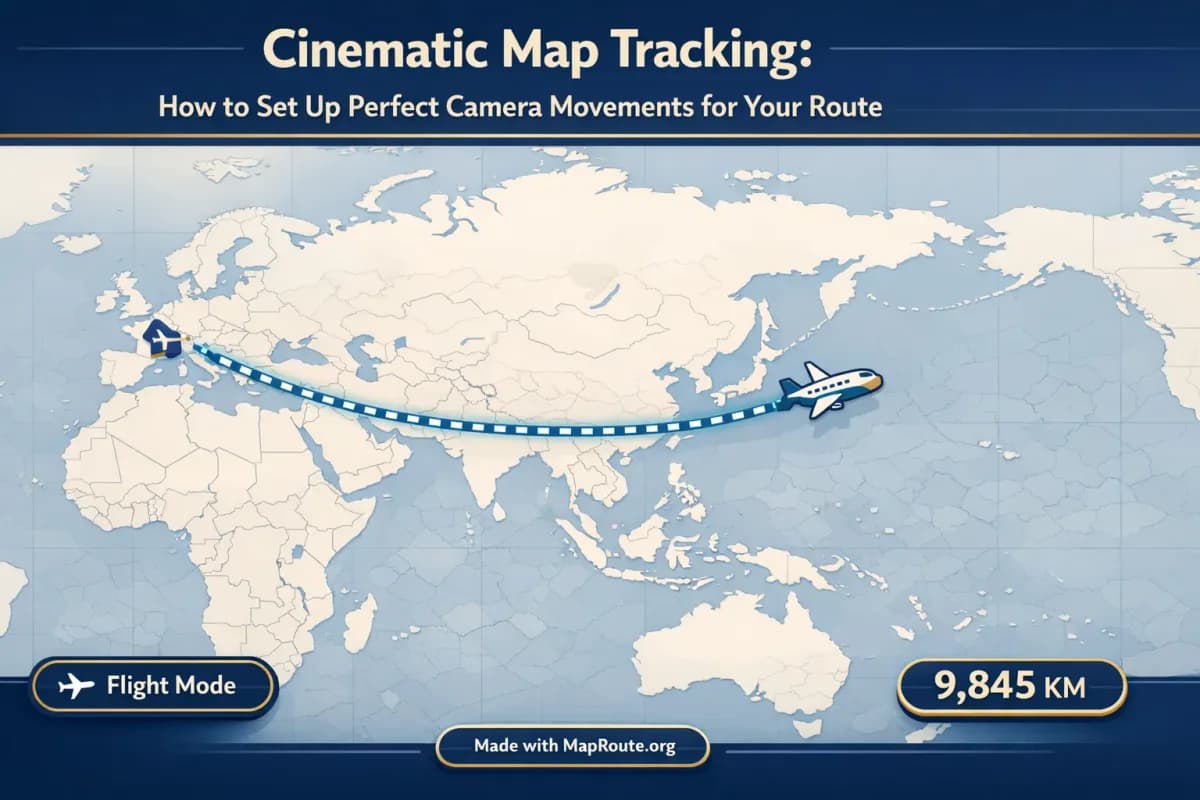
Cinematic Map Tracking: How to Set Up Perfect Camera Movements for Your Route
Cinematic map tracking for your route is mainly about framing, pacing, and aspect ratio, not complicated keyframes. With Map Route, the camera movement is automatic, but you can still plan your route, screen layout, and edit to get a polished, film-like result.
This article walks creators through how Map Route’s camera behaves, what you can and can’t control, and how to build a reliable workflow around it. You’ll see how a long-haul geodesic from France to Japan and a tight road journey from Westminster to Camden behave very differently on screen—and how to make both feel intentional in your final video.
Map Route does not offer custom camera keyframes, 3D orbit moves, or audio-sync inside the tool. It automatically frames and animates a 2D map; you add music, cuts, and titles later in your own editor.
Step-by-step: Building a cinematic route shot in Map Route
1. Choose the right browser setup for your final platform
Because Map Route’s aspect ratio follows your browser window, the first step in “setting up the camera” is actually choosing the right device or window width for your target platform.
- For TikTok, Reels, and Shorts: use a phone or a narrow browser window under 768px wide to get 9:16 vertical.
- For YouTube intros and landscape vlogs: use a browser window 768px or wider to get 16:9.
- Avoid constantly resizing while capturing—set the window once so your framing stays consistent.
There is no manual aspect ratio picker in Map Route. The player simply follows the current window shape.
2. Enter From and To for a clean, cinematic path
Map Route always visualizes a journey between exactly two places. There’s no multi-stop waypoint editor, so each cinematic shot is one clean route line from A to B.
- Open maproute.org in a modern browser (Chrome, Safari, etc.).
- In the From field, type at least two characters (for example, “France”). Pick the right suggestion based on its label and context.
- In the To field, type your destination (for example, “Japan”).
- Choose a visualization mode: Road, Rail, Air corridor, or Geodesic.
- Click Generate Journey and wait through the prep stages until the animation appears.
For a cinematic long-haul feel, a geodesic line from France to Japan works well. For a grounded city story, a road path from Westminster to Camden gives you a detailed, local movement.
3. Let the automatic camera framing work for you
Map Route automatically frames the map based on distance. Short hops are shown tighter; long hauls are framed wider so the full journey fits comfortably. You can’t keyframe or override this, but you can choose routes and modes that match the feel you want.
- Very short routes: almost top-down view, minimal pitch, good for snappy city cuts.
- Medium distances (for example, Westminster → Camden by road): slight pitch (about 22° under ~1800 km) for depth, with enough context around the city.
- Long distances (for example, France → Japan geodesic): wider framing, lower pitch (about 8° under ~5000 km or flat for very long) so the whole arc fits on screen.
The decorative globe on the Map Route homepage is not the journey player. The actual animation uses a 2D MapLibre map with a moving marker along the computed line.
4. Adjust pacing with playback speed
Duration at 1x speed is automatically calculated from distance (typically around 8–28 seconds), which is ideal for short social clips and vlog segments. You can’t set an exact second count, but you can change how fast the marker moves:
- 1x: default cinematic pace, best when you’ll add voiceover or text overlays later.
- 2x: snappier feel for Reels and Shorts when you want to keep attention high.
- 4x: hyper-fast travel montage or background layer behind other visuals.
Use Play, Pause, and Replay to preview the movement at different speeds before you commit to a capture.
5. Capture and export your cinematic map shot
Once you’re happy with framing and pacing, you’re ready to export the shot for your edit.
- If you haven’t already, register on Map Route and verify your email to unlock downloads.
- Replay the animation to confirm the timing and aspect ratio.
- Click Download Video to capture the browser playback as an MP4 (H.264 where supported, otherwise WebM).
- Optionally, use Export Image to grab a WebP still frame for thumbnails or chapter cards.
All downloads include a small “Made with MapRoute.org” watermark. There is no watermark-free export in the current product.
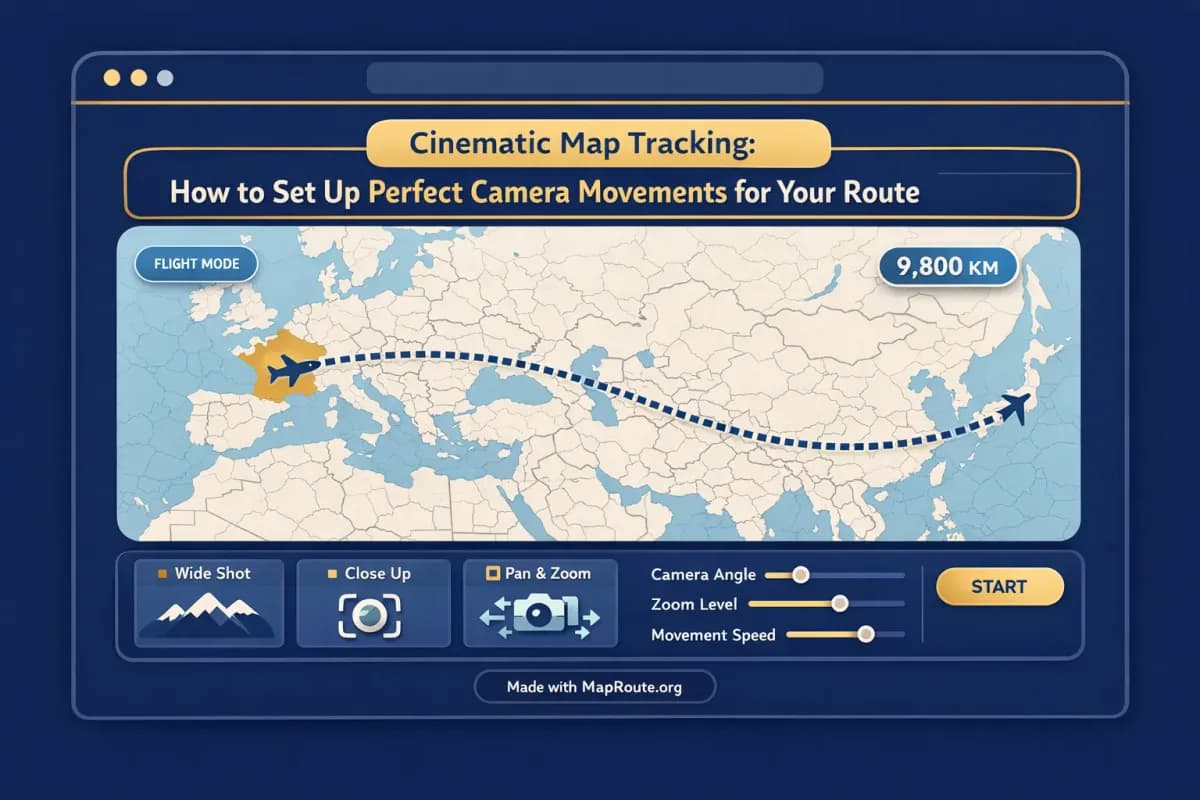
How Map Route’s camera actually works
To set up convincing cinematic map tracking, you need to understand what the Map Route “camera” really is—and what it isn’t. Think of it as a smart, automated framing system on a 2D map, not a full 3D camera rig.
Automatic framing and pitch by distance
When you generate a journey, Map Route does four prep steps—resolving places, requesting geometry, framing the map, and preparing the journey. The framing step decides how far out to zoom and how much pitch to apply.
- Short hops (within a city) get a tight frame so the route fills the screen.
- Regional trips get a moderate zoom so both endpoints and the path stay visible.
- Long-haul geodesic or air corridor journeys are framed wide enough to show the full curve, including date-line-safe paths when relevant.
Pitch is subtle: roughly 22° for many medium distances, about 8° around mid-long ranges, and close to 0° (top-down) for very short or very long lines. You can’t dial this in yourself, but you can choose route distances that give you the visual depth you prefer.
Modes and how they change the look
The visualization mode you choose dramatically changes how your camera movement feels, even with the same endpoints.
- Road: follows a detailed road path from a routing engine. Great for grounded vlogs like Westminster → Camden, showing real twists and turns.
- Rail: follows railway alignment when geometry is found. Nice for train-themed content, but keep in mind long hauls may fail if rail geometry can’t be computed.
- Air corridor: estimated great-circle line, styled like a flight path. Good for aviation-themed edits and long-distance travel montages.
- Geodesic: straight-line distance on the globe, very clean and minimal. Ideal for stylized “here to there” sequences like France → Japan.
These lines are visualizations only. They are not live trackers, timetables, or proof that a bus, train, or airline operates that route.
Marker movement and km tracker
During playback, a marker or vehicle icon moves along the computed line while a km tracker counts up. The km label reflects the geometry used: road path km, railway geometry km, air corridor estimate km, or geodesic km. This is distance along the line on the map, not driving time or ticket mileage.
For cinematic edits, that live km counter is a useful storytelling element: you can cut or punch in at key numbers (for example, 1000 km, 10,000 km) to emphasise how far you’ve gone.
Practical camera setups: from France–Japan to Westminster–Camden
Example 1: France → Japan geodesic as an opening shot
Imagine you’re opening a travel series about moving from Europe to Asia. A France → Japan geodesic line is a strong, minimalist way to set the scale of the journey.
- On desktop, set your browser window wide enough for 16:9 (ideal for YouTube).
- In Map Route, search “France” as From and “Japan” as To.
- Choose Geodesic mode to get a clean straight-line representation.
- Generate the journey and preview the automatic framing. You’ll see a wide view of Europe and Asia with the line spanning continents.
- Play at 1x to get a slow, epic reveal, or 2x if you want to keep the intro under about 15 seconds.
In your editor, you can start on a title card, then cut to this map shot as the marker starts moving, layering in voiceover about why you’re making the move. The automatic wide framing makes the distance feel huge without any manual camera work.
Example 2: Westminster → Camden by road for a city vlog segment
For a London day-in-the-life vlog, a Westminster → Camden road path works perfectly as a transition between scenes—say, from Big Ben to a Camden market.
- On your phone, open maproute.org vertically to get a 9:16 frame for Reels/Shorts.
- Search “Westminster, London” as From and “Camden, London” as To.
- Choose Road mode for a realistic, twisty city route.
- Generate the journey and watch how the camera frames central London with a slight pitch for depth.
- Play at 2x or 4x to match the fast pace of B-roll you’ll cut around it.
Later, drop this clip between your Westminster and Camden footage. Because the camera automatically keeps the whole city route in view, you don’t need to worry about zooming or panning manually—your only decision is where to cut in and out.
Chaining multiple legs for a “full journey” feel
Map Route doesn’t support multi-stop routes in a single generate, but you can still build a cinematic multi-leg sequence by combining separate clips in your editor.
- Generate France → Japan as a geodesic to show the big picture.
- Generate Westminster → Camden as a road path to zoom into a specific day of the story.
- Optionally, add another city pair—like Paris → Tokyo by air corridor—to bridge the gap between local and global.
Edit these back-to-back with crossfades or quick cuts. The visual contrast between wide global framing and tight city framing feels intentional and cinematic, even though Map Route handled all the camera work for you.
Integrating Map Route camera moves into a vlog workflow
Map Route isn’t a full video editor—there are no titles, voiceovers, or music tools built in. The cinematic feel comes from how you combine its clean map camera moves with your own footage and audio.
Edit outside Map Route: where the real polish happens
The recommended workflow is simple: use Map Route to generate and download the map animation, then bring that clip into your usual editing software (CapCut, Premiere Pro, Final Cut, DaVinci Resolve, mobile editor, etc.). There, you can:
- Add voiceover explaining the journey while the marker moves.
- Layer B-roll of planes, trains, or city streets over parts of the map shot.
- Overlay titles, captions, and emojis to highlight key locations or distances.
- Cut the map clip to the beat of your chosen soundtrack.
Map Route doesn’t offer beat-sync or audio upload. Any music or timing work needs to happen in your own editor after download.
Using km tracker and marker position as editing cues
Because the km tracker and marker move together, they’re built-in timing guides. As you scrub the clip in your editor, look for specific km values or map positions to cut on—for example:
- Cut to a new scene when the marker crosses a border.
- Punch in or add a sound effect when the tracker hits a round number (like 1,000 km).
- Fade out the map as the marker arrives at the destination, then reveal on-location footage.
Managing multiple legs and modes in one vlog
If your vlog covers a complex itinerary—say, train to the airport, flight to another country, then a road trip—you’ll create one Map Route clip per leg:
- Home city → Airport by Road mode.
- Departure city → Arrival city by Air corridor or Geodesic mode.
- Arrival airport → Final destination by Road mode.
You can’t combine plane, train, and road in a single Map Route file, but in your timeline you can chain these clips with transitions, giving viewers the impression of one continuous cinematic journey.
Map Route vs traditional camera-keyframe workflows
If you’re used to building map animations in tools like Adobe After Effects or mobile apps like TravelBoast, Map Route sits in a different spot on the spectrum: less manual control, much faster setup.
| Tool / workflow | Camera control style | Setup time for a route | Typical platform fit | Cost / access |
|---|---|---|---|---|
| Map Route (browser-based) | Automatic framing and pacing based on distance; no custom keyframes | Minutes (search From/To, pick mode, generate, download) | Quick social clips, vlog intros, travel explainers | Free tier with registration; runs in modern browsers |
| Adobe After Effects with map plugins | Full manual camera keyframes, 3D moves, complex easing | Hours per polished shot, especially for beginners | High-end branded content, custom motion design | Typically desktop software plus paid plugins/licenses |
| Mobile route animation apps (e.g., TravelBoast-style) | Template-based paths on a phone screen, some styling controls | Minutes, but often phone-only and app-specific | Casual social posts, stories, quick travel updates | Usually mobile apps with free/paid options |
Use Map Route when you want a clean, automatic camera over a real map that’s ready in minutes. If you need fully bespoke 3D camera paths, orbit moves, or advanced compositing, you’ll still lean on desktop tools—but you can even use a Map Route export as a base layer in those projects.
Map Route is not a 3D globe renderer and does not expose camera keyframes. All camera behaviour is automatic inside the browser-based player.
Cinematic map tracking checklist for creators
Before you generate your route
- Decide your primary platform (TikTok/Reels/Shorts vs YouTube) so you can pick vertical or horizontal aspect via window width.
- List the key legs of your journey; remember Map Route handles exactly one From–To pair per generate.
- Choose which mode fits each leg (Road, Rail, Air corridor, Geodesic).
- Confirm you have a modern browser ready (Chrome, Safari, etc.).
While using Map Route
- Search your From and To locations carefully, checking the context labels to pick the right city/region/country.
- Preview the automatic framing and pitch; regenerate with a different mode or endpoints if the composition feels off.
- Test 1x, 2x, and 4x playback speeds to find the pacing that matches your planned music or narration.
- Copy the journey link if you want to regenerate the same pair and mode later.
Before exporting and editing
- Register and verify your Map Route account so you can download video and images.
- Set your browser window to the final aspect ratio you want and avoid resizing during capture.
- Replay the animation end-to-end to verify the route, km tracker, and timing.
- Download Video for motion and Export Image for thumbnails or chapter cards.
- Import the clip into your editor to add voiceover, titles, B-roll, and music.
FAQ
Can I control the camera path or add custom keyframes in Map Route?
No. Map Route automatically frames and animates the map based on the distance between your From and To locations. You can’t set custom camera paths, orbit moves, zoom keyframes, or easing curves. To get more complex camera behaviour, use Map Route to generate a clean base animation and then composite or enhance it in your own video editor or motion graphics tool.
Does Map Route support multi-stop routes in one cinematic animation?
Map Route generates one journey per pair of endpoints: exactly one From and one To. There is no built-in multi-stop or waypoint editor. For multi-leg trips, generate each leg separately (for example, City A → City B, then City B → City C) and combine those clips in your video editor to create the impression of a continuous journey.
What devices and browsers can I use for cinematic map tracking?
Map Route runs in modern browsers, including Chrome and Safari, and works on both phones and desktop. Place search, generating journeys, and playing animations all work on mobile and desktop. For exports, you’ll need a verified account, and video capture can occasionally fail in some browsers; when that happens, the player still works, but you’ll see a notice about the capture issue.
How do aspect ratio and orientation work for exports?
Map Route doesn’t have an aspect ratio picker. Instead, the player follows your window width: below 768px wide (such as phones or a narrowed desktop window) the animation is 9:16 vertical, ideal for TikTok, Instagram Reels, YouTube Shorts, and Stories. At 768px and above, the animation is 16:9 landscape, ideal for YouTube and vlog intros. Export Image saves a WebP still of whatever aspect the player is currently using, and video download captures that same view.
What export formats and watermarks should I expect?
After you register and verify your email, you can use Download Video and Export Image. Video is captured in your browser from the player you see on screen—MP4 (H.264) when your browser supports it, otherwise WebM. Export Image saves a WebP still frame. All downloads include a “Made with MapRoute.org” watermark; there is currently no watermark-free export option. Map Route does not guarantee server-rendered HD exports, as the capture is browser-based.
Is Map Route free to use for creators?
Yes. Map Route has a free tier. Logged-out visitors can generate up to 3 journeys but can’t download images or videos. With a verified free account, you get 5 combined uses per UTC day—each Generate Journey, Download Video, or Export Image counts as one use, and the quota resets daily. There’s no self-serve checkout; paid plans exist only as manual upgrades via the account page.
Does Map Route include music, voiceover, or beat-sync for my cinematic routes?
No. Map Route focuses on visualizing the journey on a map. There’s no built-in audio upload, music library, or beat-sync feature, and you can’t record voiceover inside the tool. The recommended workflow is to download your map animation from Map Route and then add music, narration, and sound design in your own video editing software.
How accurate are the routes and distances in Map Route?
Map Route visualizes geometry between places using public data sources. Road paths use OSRM, rail uses available railway geometry, and air corridor and geodesic modes use great-circle style lines. The km tracker shows the length of the line Map Route actually computed, labelled as road path km, railway geometry km, air corridor estimate km, or geodesic km. It’s not driving time, ticket distance, or an airline’s official mileage, and it’s not a booking or timetable tool.