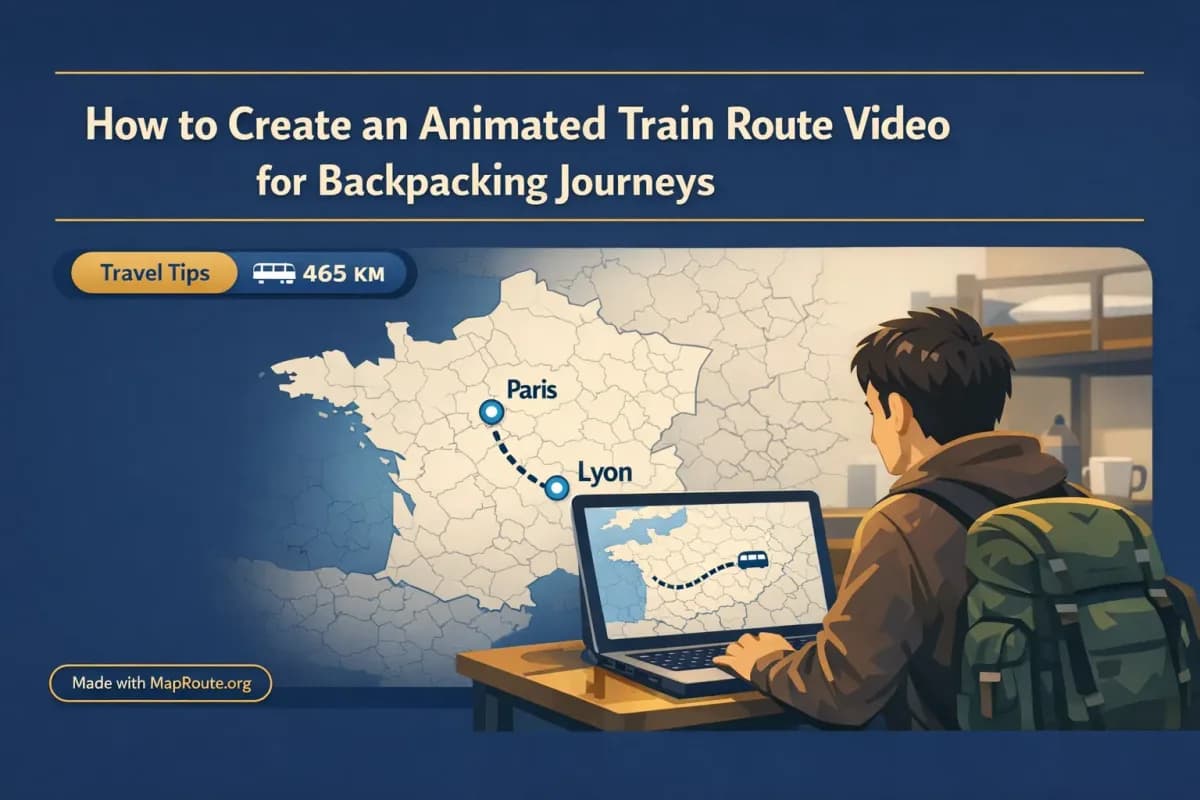
Why animated train route videos are perfect for backpackers
You can create an animated train route video of your backpacking journey in a browser, without installing any apps or editing complex keyframes. Map Route lets you visualize the railway alignment between two places and export it as a short clip you can use in Reels, Shorts, or a travel vlog.
For rail-heavy trips like Paris to Lyon or London to Paris, an animated map does two things at once: it helps you explain where you’re going, and it adds a clean, modern opening shot to your travel videos. This guide walks you through using Map Route’s rail mode, what it can and cannot do, and how to fit the clip into your wider storytelling.
Map Route visualizes geography between two places. It is not a timetable, booking tool, or proof that a train actually runs on that route.
Step-by-step: making a rail animation for your backpacking route
1. Plan which leg you want to show
Map Route generates one journey at a time: a single From and To. If your backpacking loop has multiple train segments, treat each leg as its own short animation and combine them later in a video editor.
- Paris → Lyon (classic France backpacking rail leg)
- London → Paris (Eurostar-style corridor)
- Lyon → Milan, Berlin → Prague, or any other city pair you can look up
Decide which leg is most important for your story. For example, you might use London → Paris as your series opener and Paris → Lyon as a transition between vlog episodes.
2. Open Map Route in your browser
Go to maproute.org in a modern browser like Chrome or Safari. There’s nothing to install and no plugin to manage, which is ideal when you’re on hostel Wi‑Fi or using a shared computer.
You can generate journeys while logged out, but you’ll need a verified free account if you want to download images or videos of your route. Creating an account is free; Map Route uses manual upgrades for paid plans, so there’s no self-serve checkout to worry about.
3. Enter your backpacking rail leg (From and To)
On the Map Route homepage, type at least two characters into the From field. Map Route uses public geocoders (Photon with a Nominatim fallback) to look up cities, regions, and countries.
- Type “Paris” in the From field and pick the city result.
- Type “Lyon” in the To field and choose the correct city.
- Check the labels so you don’t accidentally pick a region or far‑away place with the same name.
Repeat the same process for London → Paris, or any other backpacking rail leg you want to show. Coverage depends on what the public geocoders return, so not every small town or station name will necessarily resolve.
4. Choose Rail mode and generate the journey
Below the search fields, pick Rail as the visualization mode. This tells Map Route to look for railway alignment between your two places instead of a road path or air corridor.
- Select the Rail mode.
- Click Generate Journey.
- Watch the prep stages: Resolving places → Requesting geometry → Framing the map → Preparing journey.
If Map Route can compute a railway geometry between your cities, you’ll see a moving train‑style marker following the rail alignment and a km tracker showing the computed railway distance. On very long or poorly mapped rail corridors, rail geometry can fail; in that case, Map Route will offer a geodesic line instead. That’s still useful as a visual “jump” between two cities, but it’s no longer a detailed rail path.
Rail mode is a visualization of OpenStreetMap railway data, not confirmation that a passenger train route exists or that tickets are available.
5. Adjust playback speed and framing by window size
Use the player controls to preview your animation. You can play, pause, replay, and change the playback speed between 1x, 2x, and 4x. Duration at 1x is tied to distance (about 8–28 seconds), which is a good length for social intros or a quick map moment in a vlog.
Aspect ratio is automatic and depends on your browser window width:
- Under 768px wide (phone or narrow desktop window): 9:16 vertical, ideal for TikTok, Instagram Reels, YouTube Shorts, and Stories.
- 768px and above: 16:9 landscape, ideal for YouTube vlogs and widescreen travel films.
If you specifically want a vertical train route for your backpacking trip, generate and capture it on your phone, or narrow your desktop browser window before exporting. For a landscape clip, keep your browser full‑width on a laptop.
6. Register and download your train route video
Once you’re happy with the animation, create or log into a verified free account to download it. Logged‑out visitors can experiment with up to three journey generations but cannot download images or videos.
- Register with a non‑disposable email and verify it.
- Replay your journey to the moment you want to export.
- Click Download Video for a clip of the animation, or Export Image for a still frame.
Each action—Generate Journey, Download Video, Export Image—counts toward your daily free quota of 5 combined uses per UTC day. The downloaded video is a browser capture of what you see in the player, including the km tracker and a small “Made with MapRoute.org” watermark. There is currently no watermark‑free export.
Video exports are MP4 (H.264) when your browser supports it, otherwise WebM. If capture fails in your browser, you’ll see a notice, but you can still play the journey normally.
What Map Route adds to your rail backpacking stories
Clear, distance‑aware rail visuals
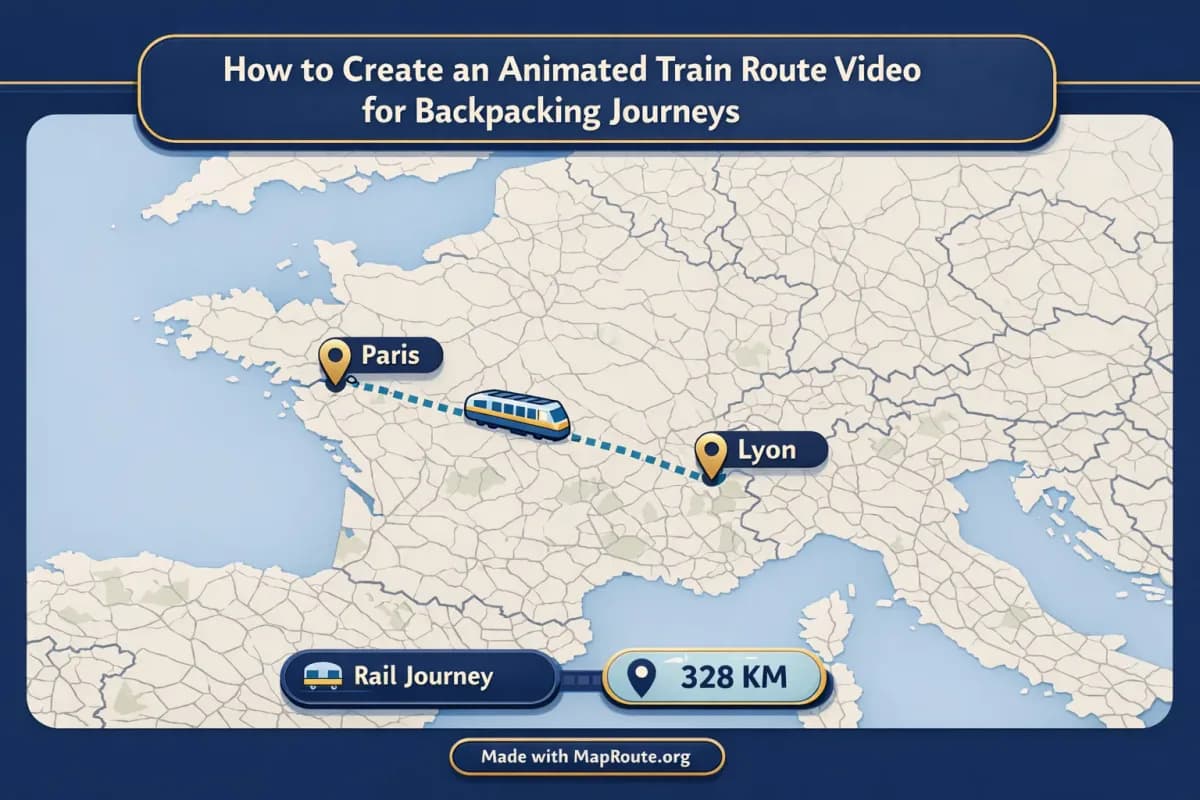
Map Route’s rail mode draws a railway alignment between your chosen cities and animates a marker along it. For a Paris → Lyon clip, that means your viewers see the train icon sweep down through central France with a live km tracker that labels the distance as railway geometry, not road or air mileage.
The km tracker helps your audience understand scale: how far that overnight train really travels or why a short‑looking hop like London → Paris is still a significant journey. Just remember it’s the length of the line Map Route computed, not your ticket distance or timetable duration.
Automatic framing that suits both short hops and long hauls
You don’t need to manage keyframes or camera paths. Map Route automatically frames short hops tightly and pulls back for longer hauls. The map uses a light, political‑style basemap, with a modest pitch on many mid‑range journeys so your route has a bit of depth without becoming a full 3D globe flythrough.
For backpackers, this means you can move from a close‑in Paris → Lyon animation to a wider London → Paris corridor without touching any advanced settings. The camera always stays focused on the journey line.
Browser‑based and hostel‑friendly
Because Map Route runs entirely in the browser, it’s practical while you’re on the road. You can generate a new clip from a hostel computer or your phone between trains, then download once you’re on a better connection.
There’s no project file to sync, no plugins to activate, and no need to carry a powerful laptop just to get a clean animated map of your route.
Simple reuse of your favorite legs
If you find a combination you like—say, London → Paris in Rail mode—you can use the Copy link feature. That URL stores your From, To, and mode, so you can regenerate the same journey later without re‑searching the cities. It’s a quick way to keep consistent map shots across a series of backpacking vlogs or social posts.
Example animated train routes for classic backpacking journeys
Paris to Lyon by rail: a mid‑distance French hop
Paris → Lyon is a staple of France backpacking itineraries. In Map Route, enter Paris as From, Lyon as To, pick Rail, and generate. The animation shows the train marker moving south‑east across France with the km tracker counting up along the railway alignment.
How to use this clip in your content:
- As a 16:9 intro to a YouTube episode about Lyon: generate on a laptop, capture in landscape, then overlay your episode title in your editor.
- As a 9:16 Reel showing your day‑trip: generate on your phone, keep it vertical, and add quick cuts of coffee on the train, your hostel, and the old town.
- As a km‑focused explainer: keep the km tracker visible and add voiceover about how surprisingly quick the rail link is compared with buses or rideshares.
London to Paris by rail: connecting two capitals
London → Paris is a powerful visual because it crosses the Channel and links two iconic capitals. In Map Route, search London as From and Paris as To, choose Rail, and generate. You’ll get a clear corridor between the UK and France and a railway distance label in kilometers.
Ideas for using this in a backpacking series:
- Series opener: show London → Paris as your first shot, then cut to your backpack hitting the floor of a Paris hostel.
- Budget breakdown: overlay text with your ticket cost, travel time, and how it compares to flying, while the Map Route animation plays in the background.
- Route recap: at the end of your Europe trip, cut together multiple Map Route clips—London → Paris, Paris → Lyon, Lyon → Milan—to show your overall path.
Map Route doesn’t know about tunnels, operators, or seat reservations. It only visualizes the geographic connection between your chosen cities.
Optimizing your train route clips for TikTok, Reels, and Shorts
To make your animated train routes work on vertical platforms, focus on aspect ratio and clip length. Map Route’s animations are automatically short—usually between 8 and 28 seconds at 1x speed—so they naturally fit social attention spans.
Getting a vertical export for social platforms
You don’t pick a preset like “9:16” inside Map Route. Instead, aspect ratio follows your browser window width. For TikTok, Reels, and Shorts:
- Generate and export on your phone in portrait orientation, or
- Narrow your desktop browser window below 768px before clicking Download Video.
Once exported, bring the clip into your usual editing app to add captions, stickers, or trending audio. Map Route doesn’t handle audio uploads or beat‑syncing, so all sound design happens in your editor.
The km tracker is part of the animation and export, and it’s labeled according to the type of path: railway geometry in Rail mode, road path in Road mode, and so on. Use this to your advantage:
- Add text like “460 km by rail today” over your Paris → Lyon clip.
- Do a quick voiceover: “We crossed 450+ km from London to Paris in under 3 hours.”
- Stack multiple km counts from different legs into a single recap Reel.
Using animated rail routes in longer backpacking vlogs
In longer YouTube or travel‑film projects, Map Route works best as a clean, focused element inside a broader edit. It doesn’t replace your NLE (Premiere, Final Cut, CapCut, etc.), but it saves you from having to animate the map from scratch.
Where to place the map in your story
- Cold open: start your London → Paris episode with the animated map, then cut straight to boarding shots.
- Mid‑episode explainer: drop in a Paris → Lyon clip while you talk about why you chose trains over buses or flights.
- End‑of‑trip recap: create one clip for each major leg and arrange them chronologically to show your full route.
Editing Map Route clips with your own audio and titles
Map Route doesn’t add music, voiceover, or titles. You handle all of that in your editor of choice after downloading the clip.
- Download your rail clip in the aspect ratio you need (vertical or landscape).
- Import it into your editing timeline.
- Add B‑roll of trains, stations, and city streets over or around the map shot.
- Record a voiceover explaining your itinerary, budget, or tips for that leg.
- Overlay text like “Day 3 – Paris to Lyon by rail” or “Crossing the Channel: London to Paris.”
Playback speed in Map Route is limited to 1x, 2x, and 4x. If you want more granular timing to match specific beats, adjust the clip speed in your video editor after export.
Animated train routes: Map Route vs other options
If you’re already editing backpacking videos, you might wonder whether to build your own map animations or rely on a tool like Map Route. Here’s how it compares at a high level to common alternatives.
| Tool / Approach | Typical setup | Strengths for backpackers | Limitations |
|---|---|---|---|
| Map Route (Rail mode) | Browser-based, no install, free tier | Fast two-point rail animations with km tracker; automatic framing; easy vertical or landscape exports via window size | Only two endpoints per journey; no multi-stop editor; watermark on exports; audio and titles added externally |
| Desktop motion graphics software (e.g. After Effects with map plugins) | Desktop install, often paid, steeper learning curve | Highly customized camera moves, styling, and multi-leg paths if you invest time | Time-consuming; not ideal on the road; requires more technical skill and a capable laptop |
| Mobile travel-route apps | Phone app install, usually touch-based editors | Quick for casual stories; often focused on social-friendly exports | Feature sets vary; may not emphasize accurate rail geometry or km labels; may be limited to certain regions or platforms |
For most backpackers, Map Route hits a useful middle ground: more geographic clarity and control than a generic sticker or arrow, without the overhead of full motion graphics software.
Backpacker checklist for better animated train route videos
Before you generate your route
- Decide which single leg (From → To) you want to show first (e.g., London → Paris, Paris → Lyon).
- Confirm both cities appear correctly in Map Route’s search suggestions.
- Choose Rail mode if you want a railway alignment and railway distance label.
- Decide where the clip will live: vertical for TikTok/Reels/Shorts, landscape for YouTube or desktop viewing.
- Create and verify a free Map Route account if you plan to download video or images.
While generating and exporting
- Set your browser window width to match your target aspect ratio (narrow for 9:16, wide for 16:9).
- Preview the animation at 1x and 2x to see which speed fits your editing style.
- Check the km tracker label (railway geometry km) and note the distance if you’ll reference it in voiceover.
- Use Copy link to save any route you know you’ll reuse in multiple episodes.
- Export the video and, if needed, a still image for thumbnails or cover slides.
When editing your backpacking video
- Import the Map Route clip into your editor and place it near relevant scenes (boarding, arrivals, recaps).
- Add music, voiceover, and on-screen text in your editor—these are not handled inside Map Route.
- Layer B-roll of trains, stations, and city streets around the map shot for richer storytelling.
- Credit the “Made with MapRoute.org” watermark if viewers ask how you made the map.
- Repeat the process for each major leg of your backpacking journey to build a consistent visual style.
FAQ
Can Map Route show my entire multi-stop backpacking rail itinerary in one animation?
No. Each Map Route journey is exactly two endpoints: one From and one To. There is no multi-stop waypoint editor and you cannot combine multiple legs into a single interactive file. To show a multi-leg backpacking route, generate one animation per pair of cities (for example, London → Paris, then Paris → Lyon) and combine those clips later in your own video editor.
Does Rail mode mean there is definitely a train between my two backpacking cities?
No. Rail mode visualizes a railway alignment based on OpenStreetMap data, but it is not a timetable, booking tool, or proof that a passenger train runs between those places. Map Route also doesn’t know about operators, schedules, or ticket prices. Always use official rail websites or apps to confirm real services.
What devices and browsers can I use to make train route videos?
Map Route works in modern browsers, including Chrome and Safari, on both phones and desktop computers. You open maproute.org, search your From and To cities, pick a mode, and generate the journey. Place search, generate, and playback all work on mobile and desktop. Video and image downloads are available after you create and verify a free account, and exports follow your current window’s aspect ratio.
How do downloads and watermarks work for Map Route exports?
Logged-out visitors can generate up to 3 journeys but cannot download. After registering and verifying your email, you can Generate Journey, Download Video, and Export Image, with a total of 5 combined uses per UTC day on the free tier. Video exports are browser captures (MP4 when supported, otherwise WebM), and image exports are WebP stills. All downloads include a “Made with MapRoute.org” watermark; there is no watermark-free export in the current product.
Can I add music, voiceover, or titles directly in Map Route?
No. Map Route is not a full video editor and doesn’t handle audio uploads, beat-syncing, titles, or B-roll. It focuses on animating the geographic route with a moving marker and km tracker. The recommended workflow is to download the clip from Map Route, then add voiceover, music, captions, and other edits in your usual video editor.
Will Map Route always find my small backpacking towns or stations?
Not always. Map Route relies on public geocoders (Photon with Nominatim fallback) and can search many cities, regions, and countries worldwide, but it cannot guarantee coverage for every village, neighborhood, or station name. If a place doesn’t appear in the suggestions, try a nearby larger city or use a broader region instead.